
Sourdough Bread Notes
September 5, 2025
I've been making sourdough bread regularly since 2022. I learned from the book Tartine Bread by Chad Robertson. Over the last few years, I've learned some things about bread making. I compiled some notes for a friend to serve as a companion to the “Basic Country Loaf” recipe from Tartine bread. I thought I'd publish them here as well.
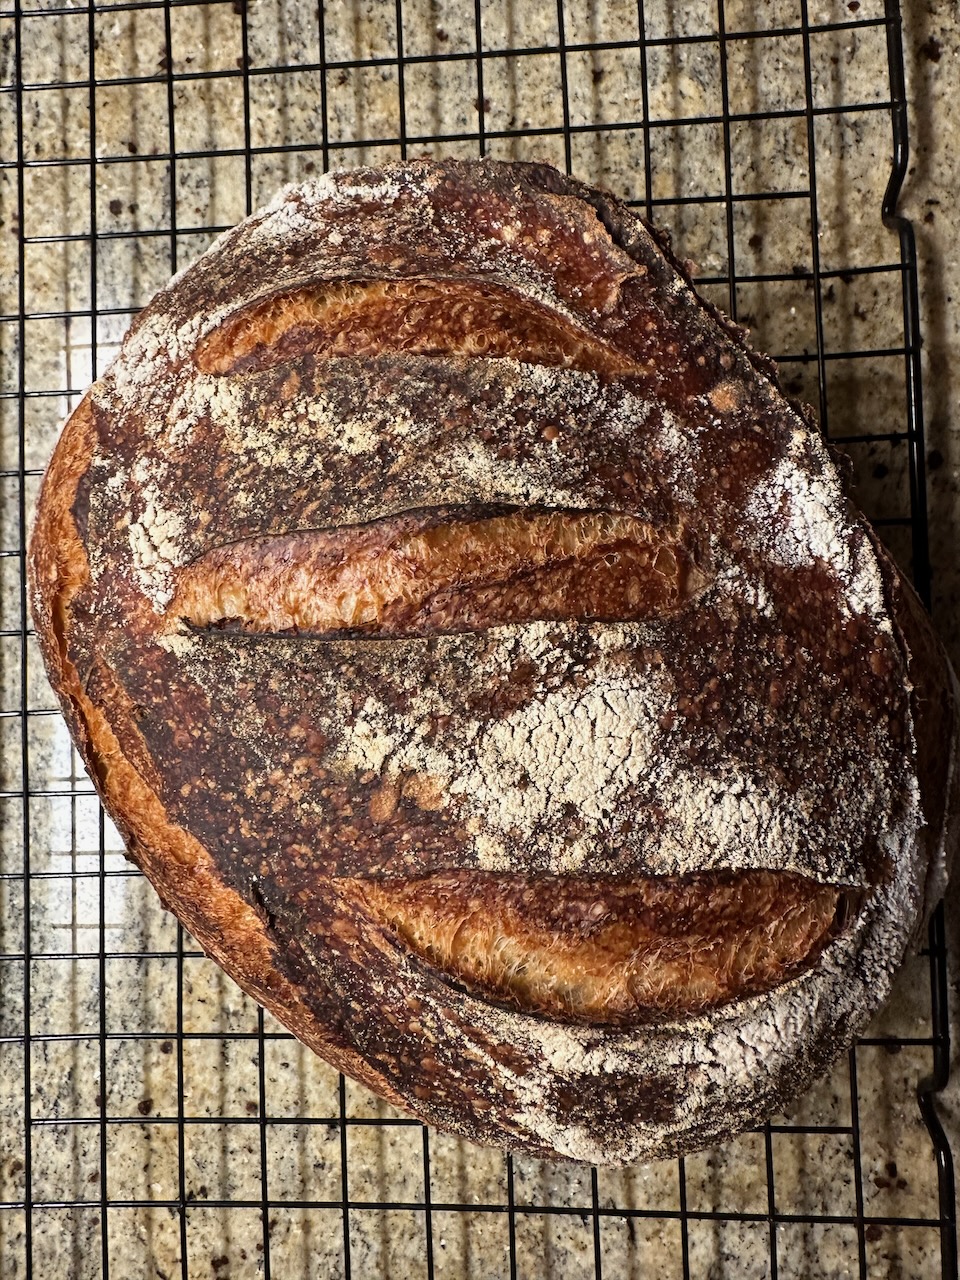
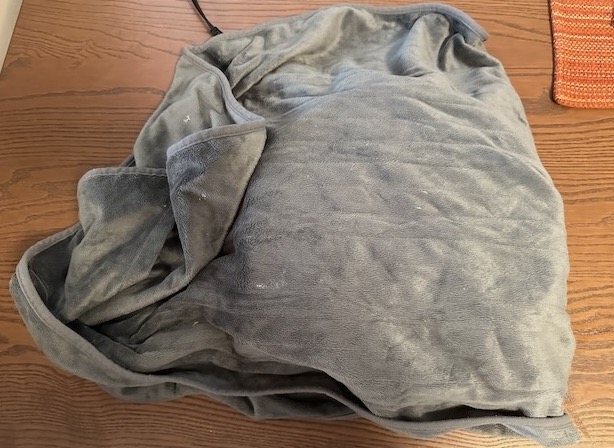
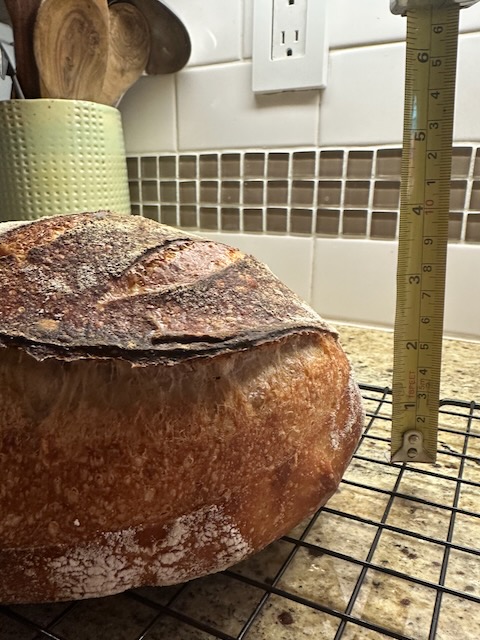
A loaf of sourdough I recently baked
Starter
I find that starters are easier to manage than most people think. The night before I bake, I take out the starter, remove all but 1 tbsp, add 100g white flour and 100g room temperature water, and stir vigorously. The next morning it should be ready. If the starter is very bubbly and floats in water, it’s good to go. If you’ve left the starter for a few weeks, you may need to do this two nights in a row to get it ready.
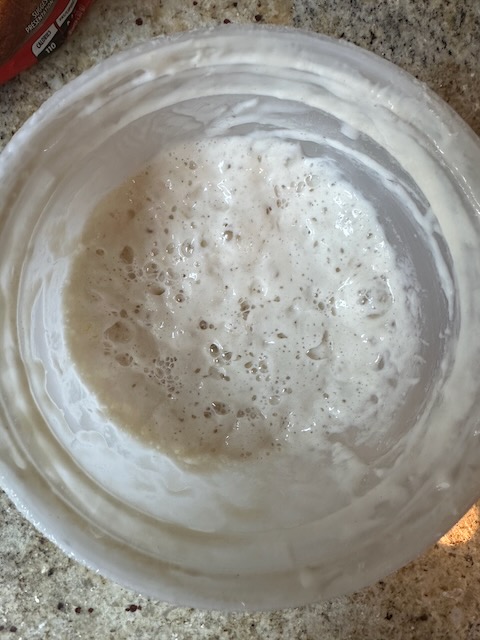
An active sourdough starter
This is my starter, pictured right before I used it for a new dough the other day. I hadn’t used it in over a month, but after two feedings over 24 hours (throwing all but a small amount away each feeding), it was back to being very active and bubbly.
Dough mix
It’s fun to mess around with different hydration levels. I’ve experimented with hydration levels in the range of 70% to 90%. At 90%, the loaf will be very hard to manipulate, and will be more of a flat loaf, but the moistness of the final product might be considered worth it.
I usually add about 10% whole wheat flour as the country loaf recipe suggests. Sometimes I use white flour only.
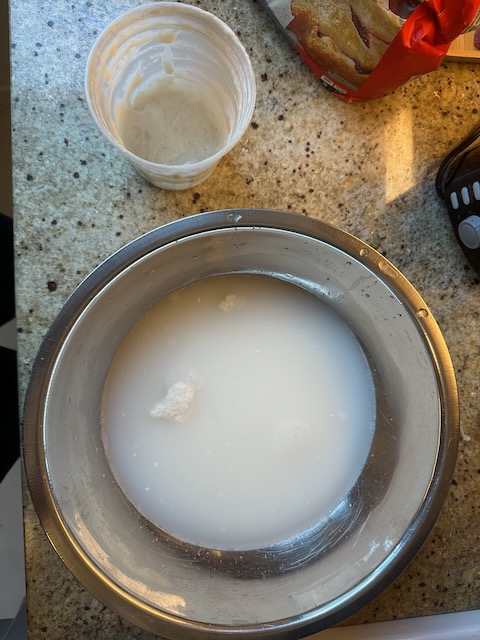
Mixing bowl with water and starter
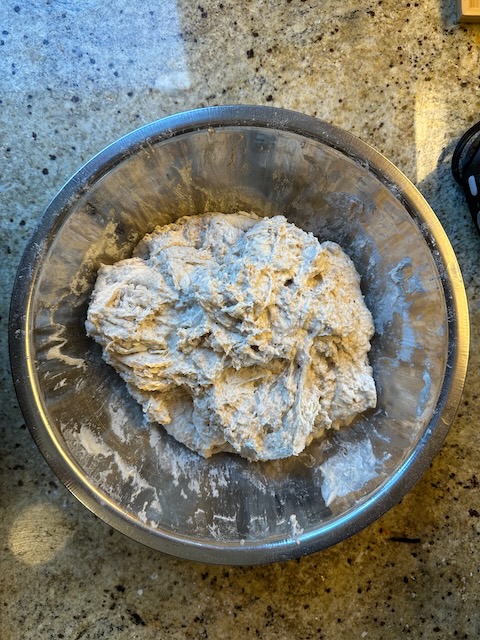
After adding flour and mixing
When creating the dough mix, I set my mixing bowl on a kitchen scale. I add water first. If I’m doing 75% hydration and the dough will be 1000g, I add 700g of water (50g more will be added along with 20g of salt after the autolyse). The water should be between 80-90ºF.
I then add the starter and stir it around in the bowl (pictured above). Then I add the flour and mix with my hands. This is the messiest step, but using your hands is really the best way to get a good mix. Make sure you have your dough scraper handy to scrape the sides of the bowl. My favourite dough scrapers are flexible plastic, like these.
Autolyse
From step 3: “Let the dough rest for 25 to 40 minutes.” This is sometimes called the “autolyse” stage, letting the dough rest before adding salt & any other mixins and before working the dough. I often let this stage go longer, up to a bit over one hour.
Using an electric blanket to keep dough warm
During the autolyse and bulk fermentation, it’s important that the dough is kept warm. If your room is colder than 23ºC or so, you may want to keep the dough in a warmer state. Tartine Bread suggests methods for doing this, such as putting the dough in your oven above a warm baking stone, but I’ve found the easiest method for myself is to use an old electric blanket. I simply wrap the dough in the blanket on the counter during these stages.
Bulk Fermentation
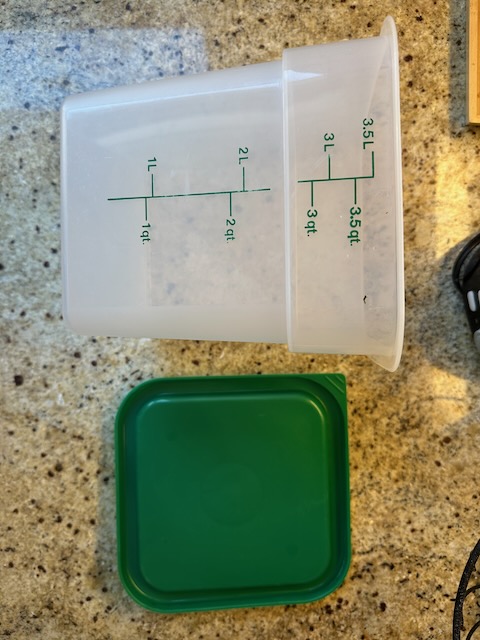
During autolyse, the dough is still in the mixing bowl. I wrap it in a plastic bag to keep in moisture. When beginning bulk fermentation, I move the dough to a container like this one.
I set a 1/2 hour timer and do a “stretch and fold” every half hour, then wrap it back in the electric blanket, until the dough is ready. As the book mentions, the temperature of the dough will impact this timing a lot, which is why I use an electric blanket to keep it somewhat standardized.
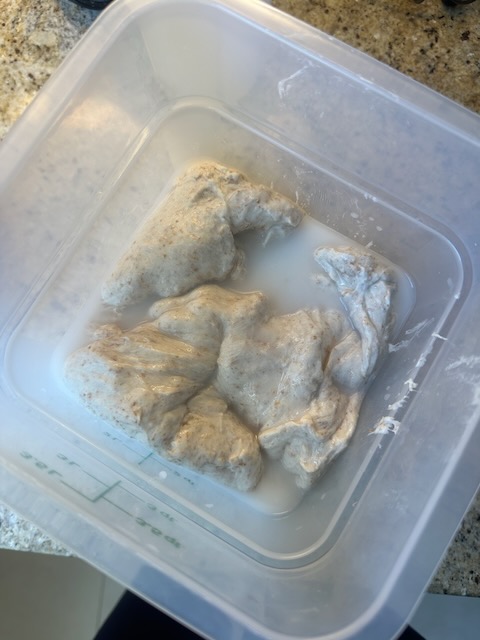
Dough in container at start of bulk fermentation
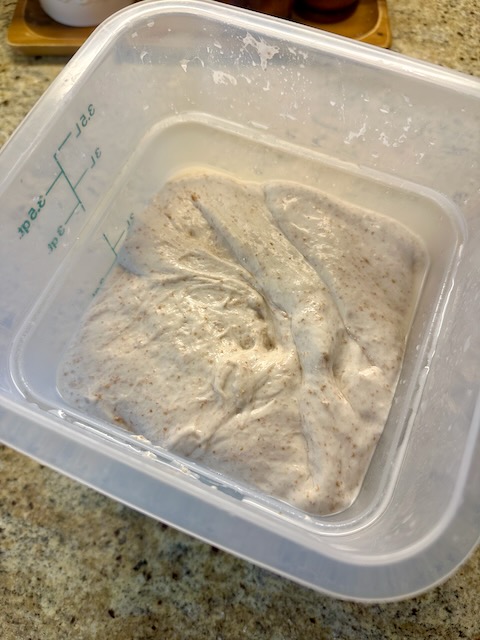
End of fermentation. This dough is ready to be shaped and proofed.
Knowing when the dough is done fermenting is something you need to get a feel for. The description in Tartine Bread is a good start:
A well-developed dough is more cohesive and releases from the sides of the bowl when you do the turns. The ridges left by the turn will hold their shape for a few minutes. You will see a 20 to 30 percent increase in volume. More air bubbles will form along the sides of the container. (page 31)
Proofing
I use these twin bannetons, and split the dough into two. Lately I’ve been freezing one and proofing the other in the fridge for ~4hrs before baking. The frozen one can be baked later. I take it from the freezer to the fridge and leave it there for about 18-24 hours, then bake it.
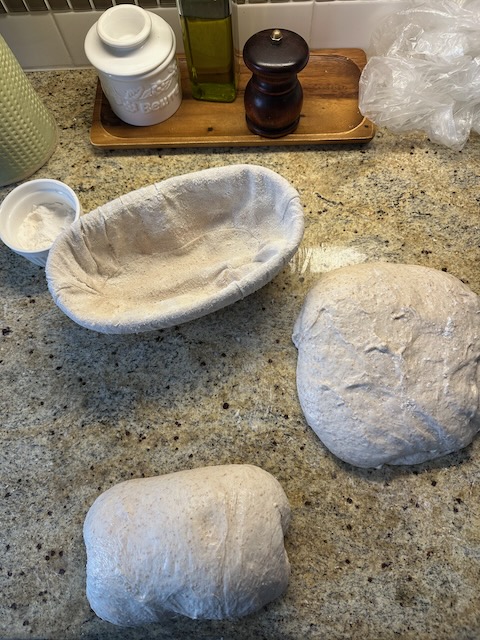
Shaping the dough into loaves
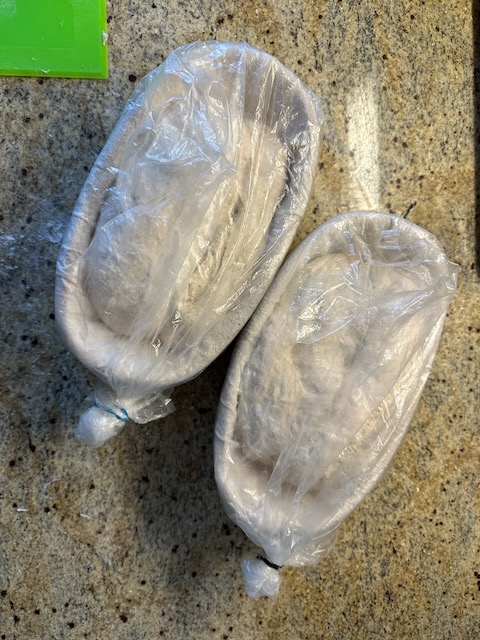
Shaped loaves, ready to proof. They are wrapped in plastic bags to keep moisture in.
Baking
The book recommends buying a “cast-iron combo cooker. One part is a shallow frying pan, and the other is a deep pan”. I already had a normal dutch oven and didn’t want to buy another one. I work with the deep sides of mine by placing the dough on a small piece of parchment paper. Then I use oven mitts to lower the dough into the dutch oven. If you don’t already have a cast iron dutch oven and are buying one just for this, you could go ahead and get the recommended one.
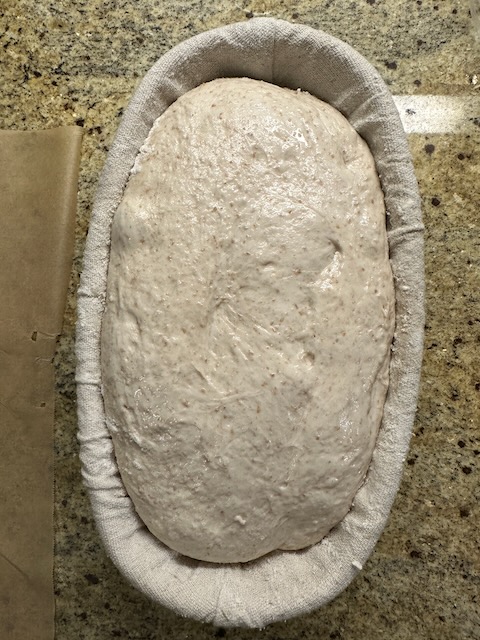
After proofing in the fridge for 4 hours, this loaf is ready to be baked.
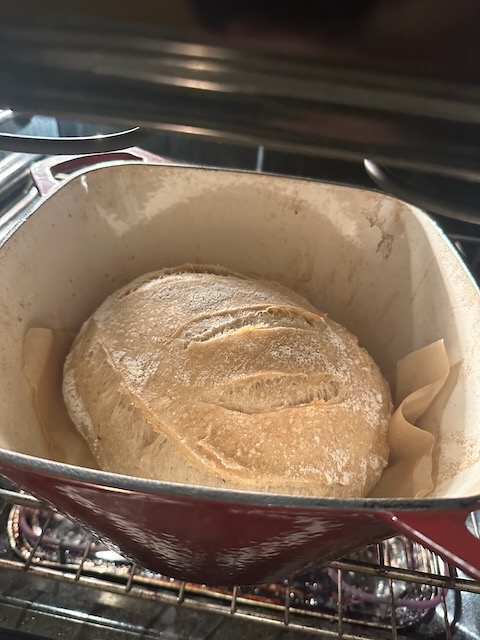
Taking the lid off of my dutch oven after 25 minutes. You can see that the loaf has risen. It looks almost like the finished bread except that it needs a crust. It will bake for 25 more minutes with the lid off.
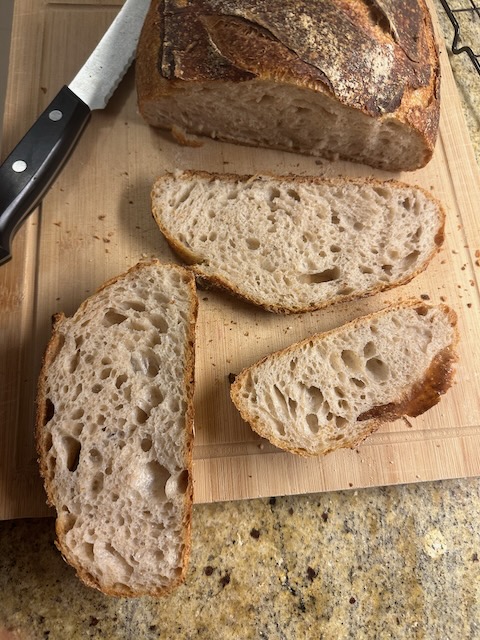
Let the loaf cool completely (~45mins) before cutting into it.
Misc tips
- Dough is easier to manipulate with wet hands; your fingers won’t stick to it
- A kitchen scale is essential. Mass measurements (grams) are more accurate than volume measurements
- I do horizontal-ish scores into the sides of the loaf, which creates dramatic “ears” that explode upward during baking. It’s worth experimenting with different scoring techniques.
- I use all-purpose flour. Bread flour has more gluten and can create a stronger dough which will rise more, but I find that all-purpose works well and I don’t feel like having two bags of flour in our small pantry.
- For the first 5-10 times you make bread, it’s worth taking detailed notes to learn what works well. I kept notes on my computer with a template that included a checklist so I never forgot a step.

See also: What I have learned about making sourdough (so far)